Installation Guide
SpotVibe is equipped with an automated, browser-based Visual Web Installer. You do not need to run commands, edit server terminals, or have technical expertise. The installer will check your server, set up database tables, and configure your administrator account step-by-step.
- Your Envato Purchase Code (License key from your CodeCanyon purchases page).
- A MySQL database name, database user, and password created on your hosting server (see the cPanel Database Creation Guide).
- Hosting access (usually cPanel File Manager or FTP) to upload the project files.
Installation Steps
Step 1 — Prepare the Source Code
1. Download the SpotVibe package ZIP file from your CodeCanyon account (typically named
SpotVibe-v1.0.0.zip depending on the current version).
2. Extract the downloaded ZIP file on your computer. Inside the extracted folder, you will see the following structure:
- 📁
Documentation/— Contains the user guide files (including this documentation). - 📁
Licensing/— Contains the license documents and terms of usage. - 📁
Change_Log/— Contains the details of version history and upgrades. - 📁
Source_Code/— This contains the actual system codebase that you must upload to your hosting.
3. Open the Source_Code/ folder on your computer. Select all files and
folders inside it (such as app/, bootstrap/, public/,
.htaccess, and artisan).
4. Compress these selected files and folders into a new ZIP file on your computer (you can name it
Source_Code.zip or deploy.zip). Note: Make sure you
compress the contents of the folder directly, and not the outer Source_Code/ folder
itself, so that files like artisan sit in the root of your zip file.
Step 2 — Upload and Extract inside public_html
1. Log in to your hosting control panel (e.g. cPanel) and open the File Manager.
2. Navigate to your main web folder, which is typically public_html/ (or a
subdomain folder if you are deploying to a subdomain).
3. Upload the locally created Source_Code.zip archive file into this
folder.
4. Once uploaded, right-click the file inside the File Manager and select Extract. This
will unpack all folders directly inside public_html/.
app/, bootstrap/, public/) and core files (like
.htaccess and artisan) are located directly inside public_html/,
and not nested under a double folder (e.g. public_html/Source_Code/app/ is incorrect; it
must be public_html/app/).
Step 3 — Verify File Permissions
Most shared hosting servers apply permissions automatically, but you should verify that the following folders are set to the correct permissions so the application can read and write files:
| Directory / File | Numeric Code | Permissions Mode | Recommended Status |
|---|---|---|---|
storage/ |
755 (or 775) |
Writable & Readable (Recursive) | Required for application logs, framework sessions, and caches. |
public/storage/ |
755 (or 775) |
Writable & Readable (Recursive) | Required for user-uploaded media files (venue logos, photos, avatars). |
bootstrap/cache/ |
755 (or 775) |
Writable & Readable (Recursive) | Required for route and configuration caches. |
.env |
644 (or 664) |
Writable & Readable (Single File) | Must be writable during installation to save configurations. |
To do this in cPanel File Manager, right-click the folder, select Change Permissions, configure the numeric code, and save.
Step 4 — Open the Visual Installer Wizard
Open your browser and visit your site's web address (e.g., https://yourdomain.com/ or
https://yourdomain.com/install).
The system will automatically detect that SpotVibe is not yet configured and redirect you to the welcome screen of the Visual Installer Wizard.
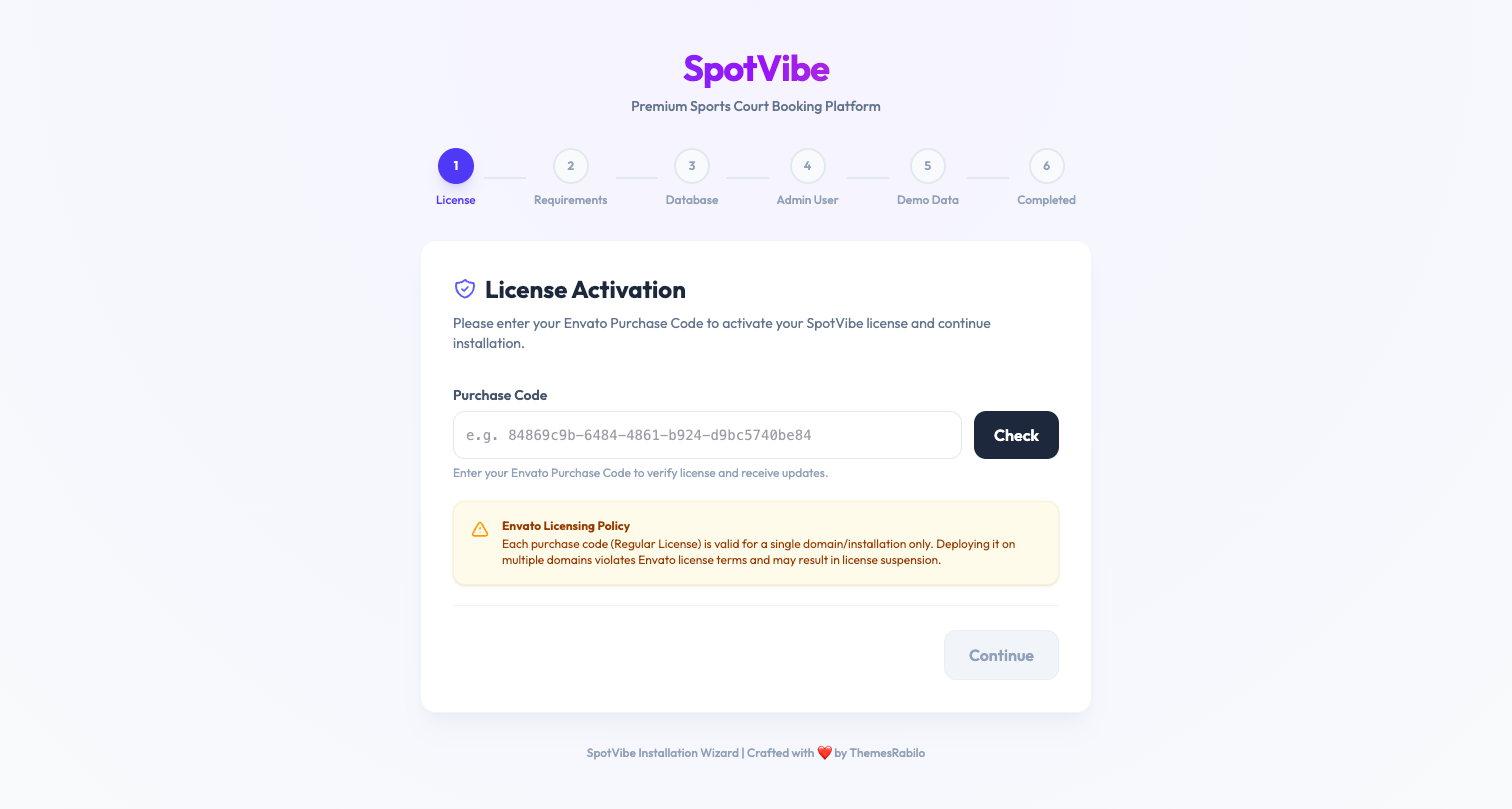
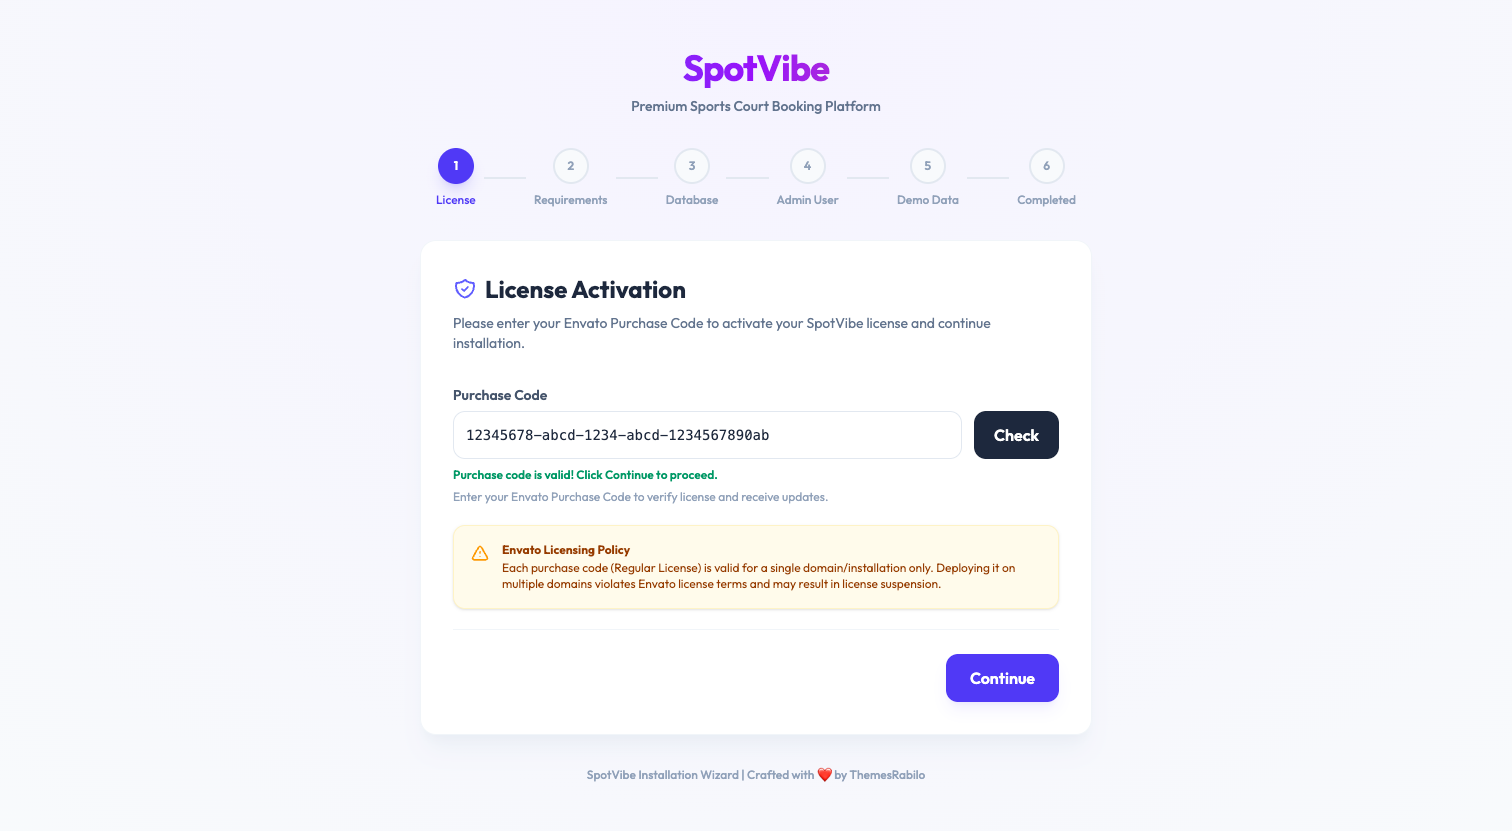
Step 5 — License Code Verification
Enter your valid Envato Purchase Code. The system will securely connect to the license validation servers to activate your installation. Click "Next" to continue.
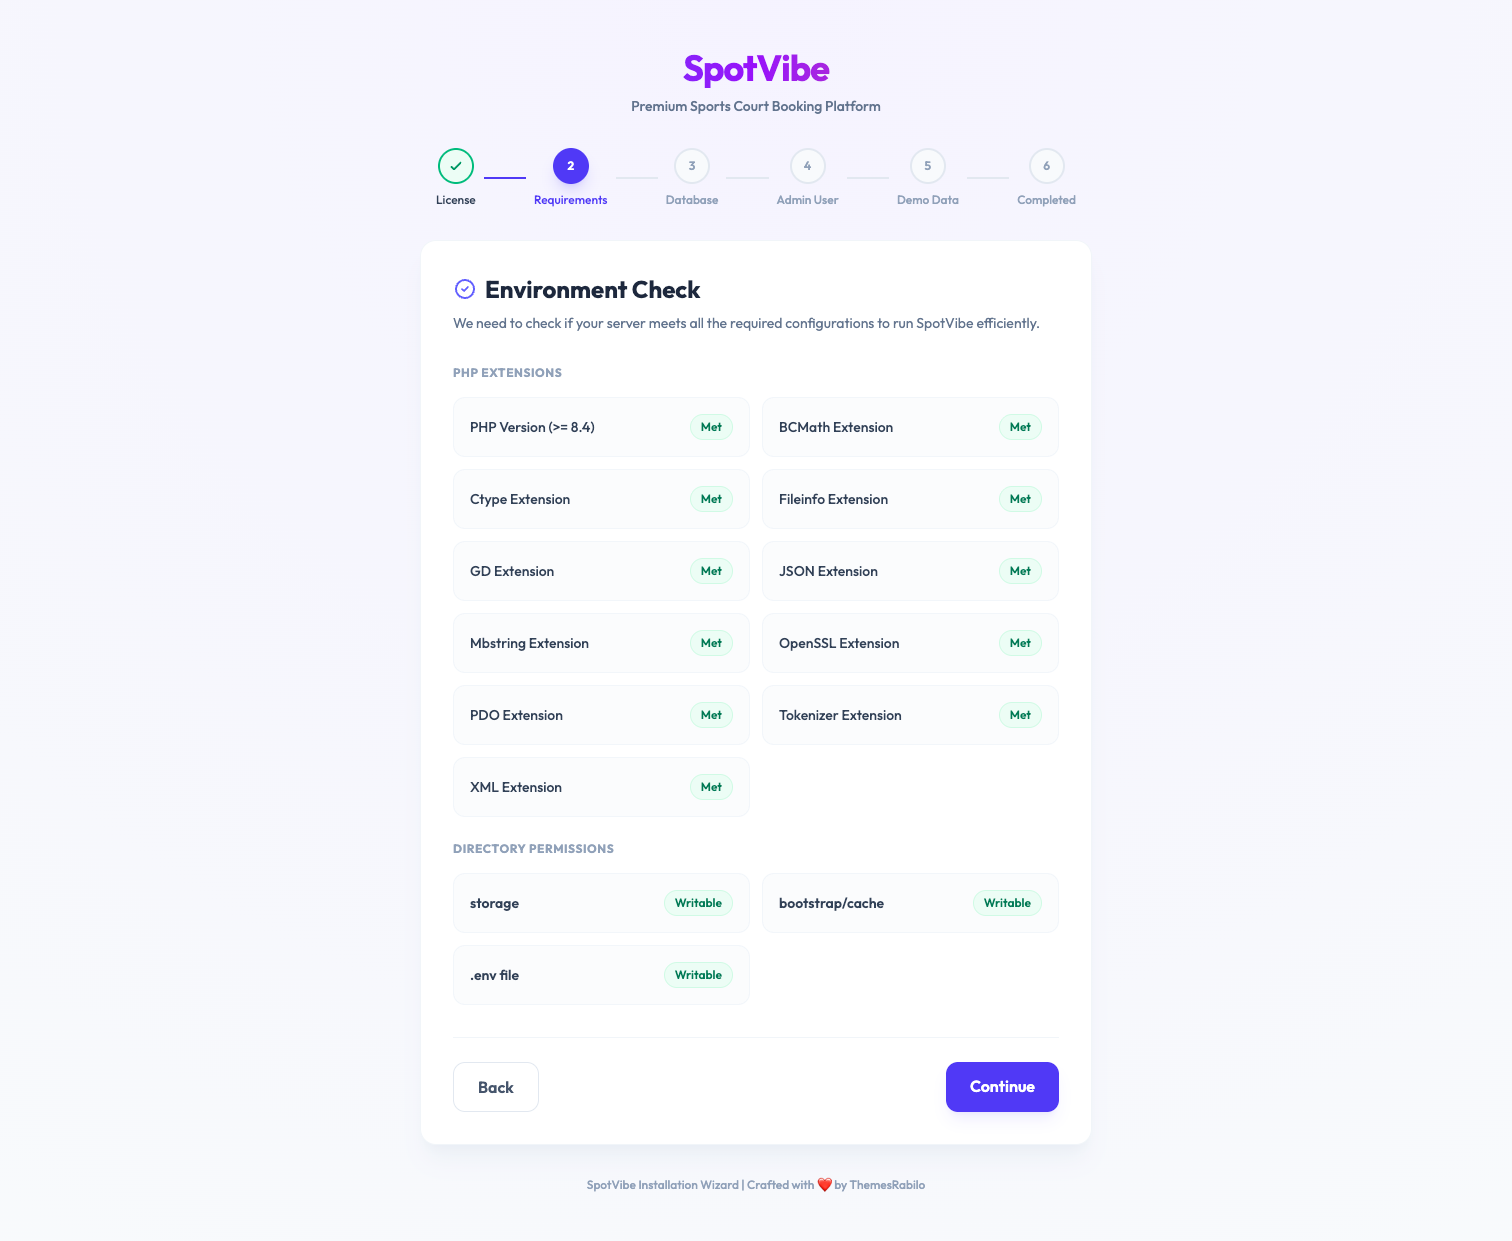
Step 6 — System Requirements Checklist
The wizard will perform an automated scan of your hosting environment to confirm that your server meets PHP 8.4+ requirements and has all required PHP extensions (like PDO, GD, OpenSSL, XML, and Mbstring) enabled. If any item is marked red, contact your hosting provider to enable it. Proceed once all indicators are green.
Step 7 — Database Configuration
Enter the database details you created in your control panel (cPanel):
- Database Host: Typically
127.0.0.1orlocalhost. - Database Name: The name of the MySQL database.
- Database Username: The database user linked to the database.
- Database Password: The password of the database user.
Click the Test Connection button to check the settings, then click Next.

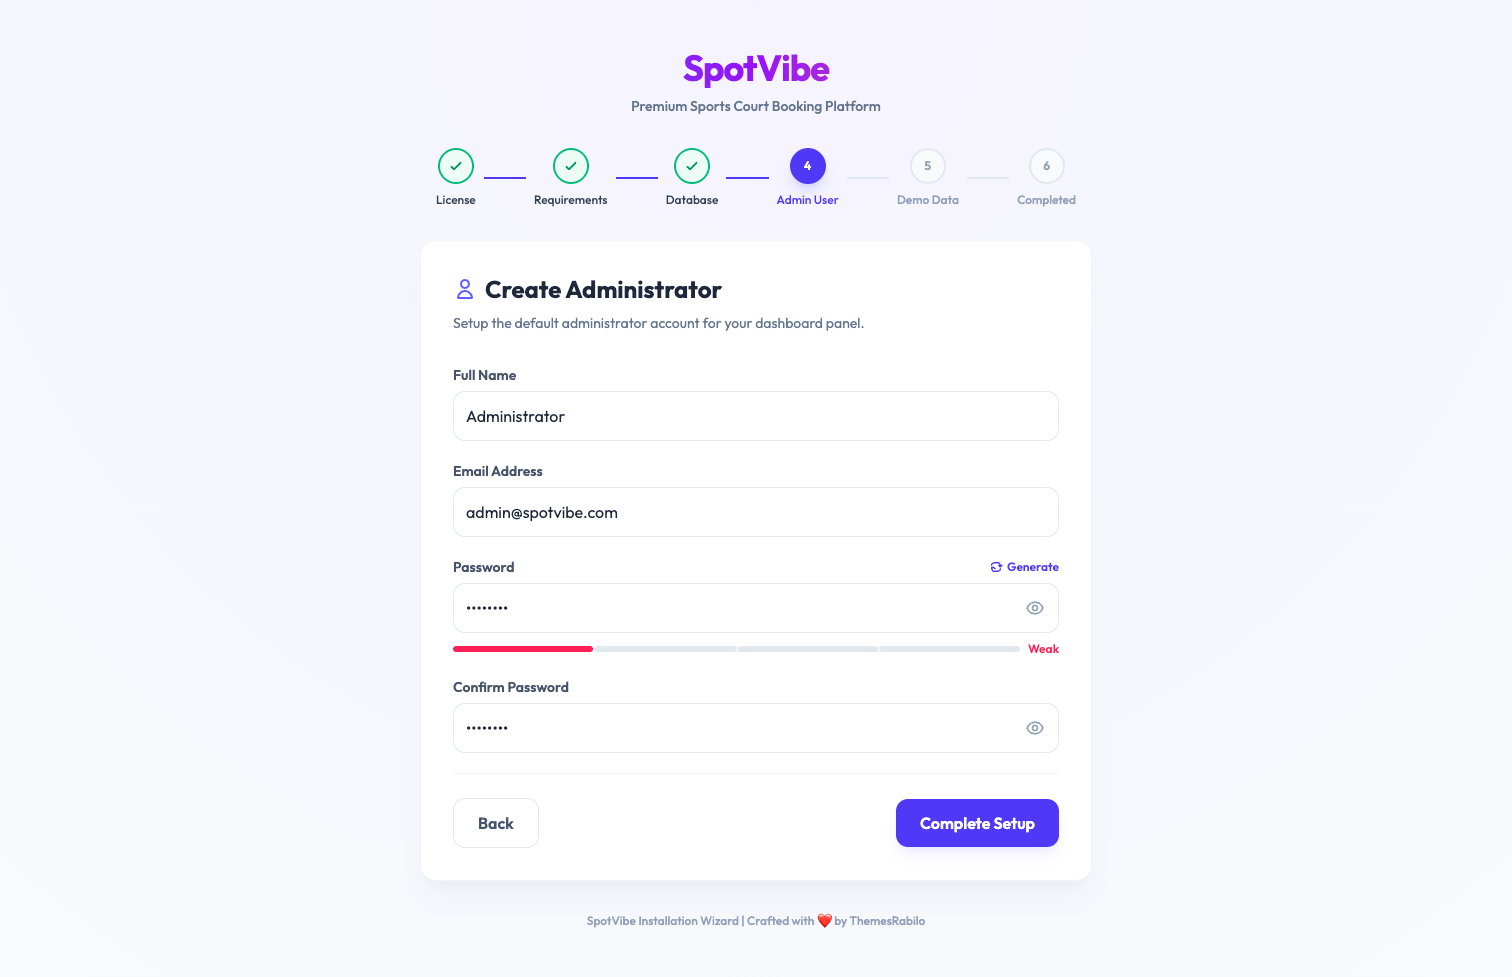
Step 8 — System Settings & Admin Setup
Input your site preferences and create your primary administrator account:
- App URL: Your website address (e.g.
https://yourdomain.com). - Administrator Name, Email & Password: These will be your master login details. Save these credentials carefully.
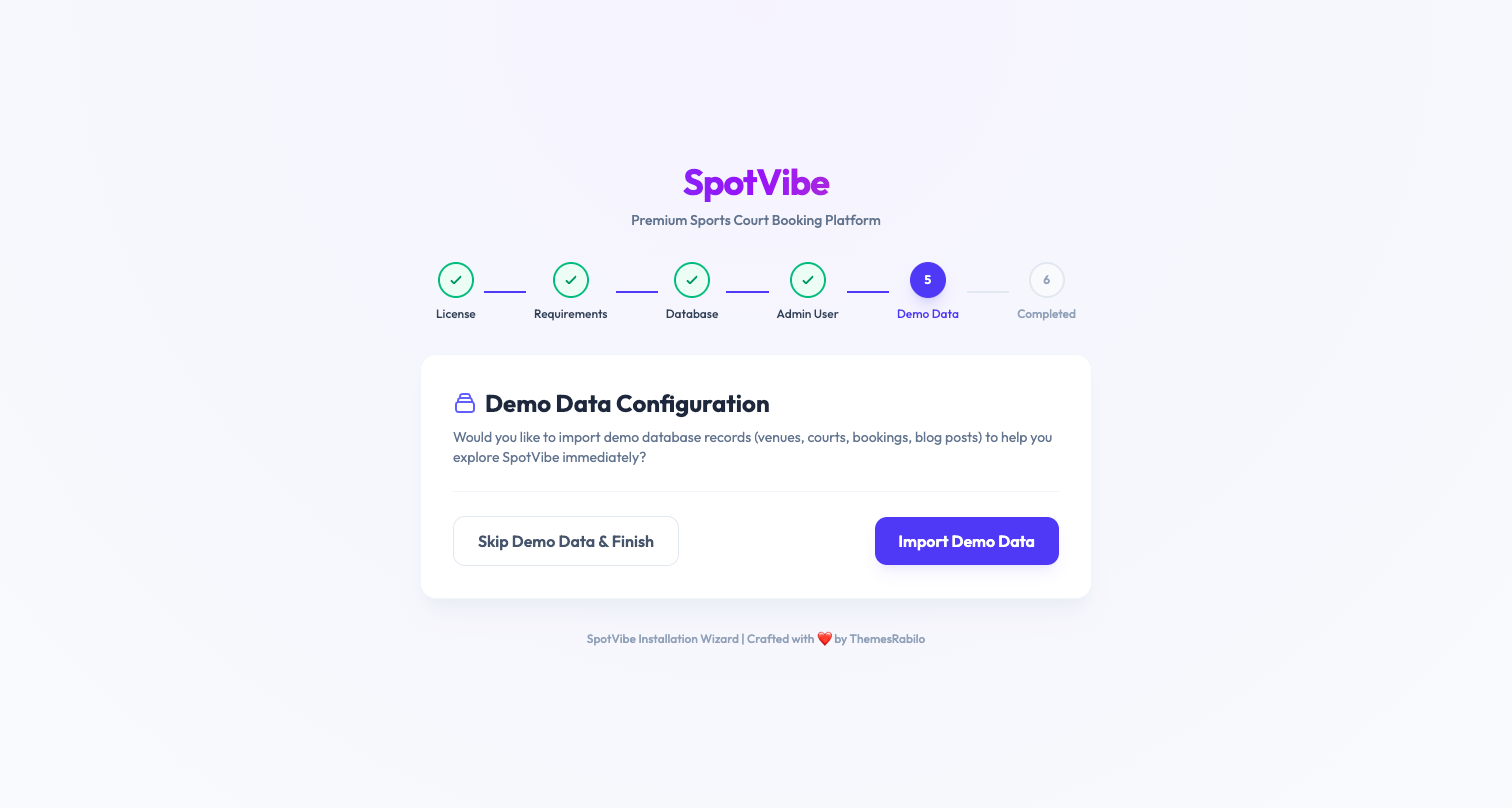
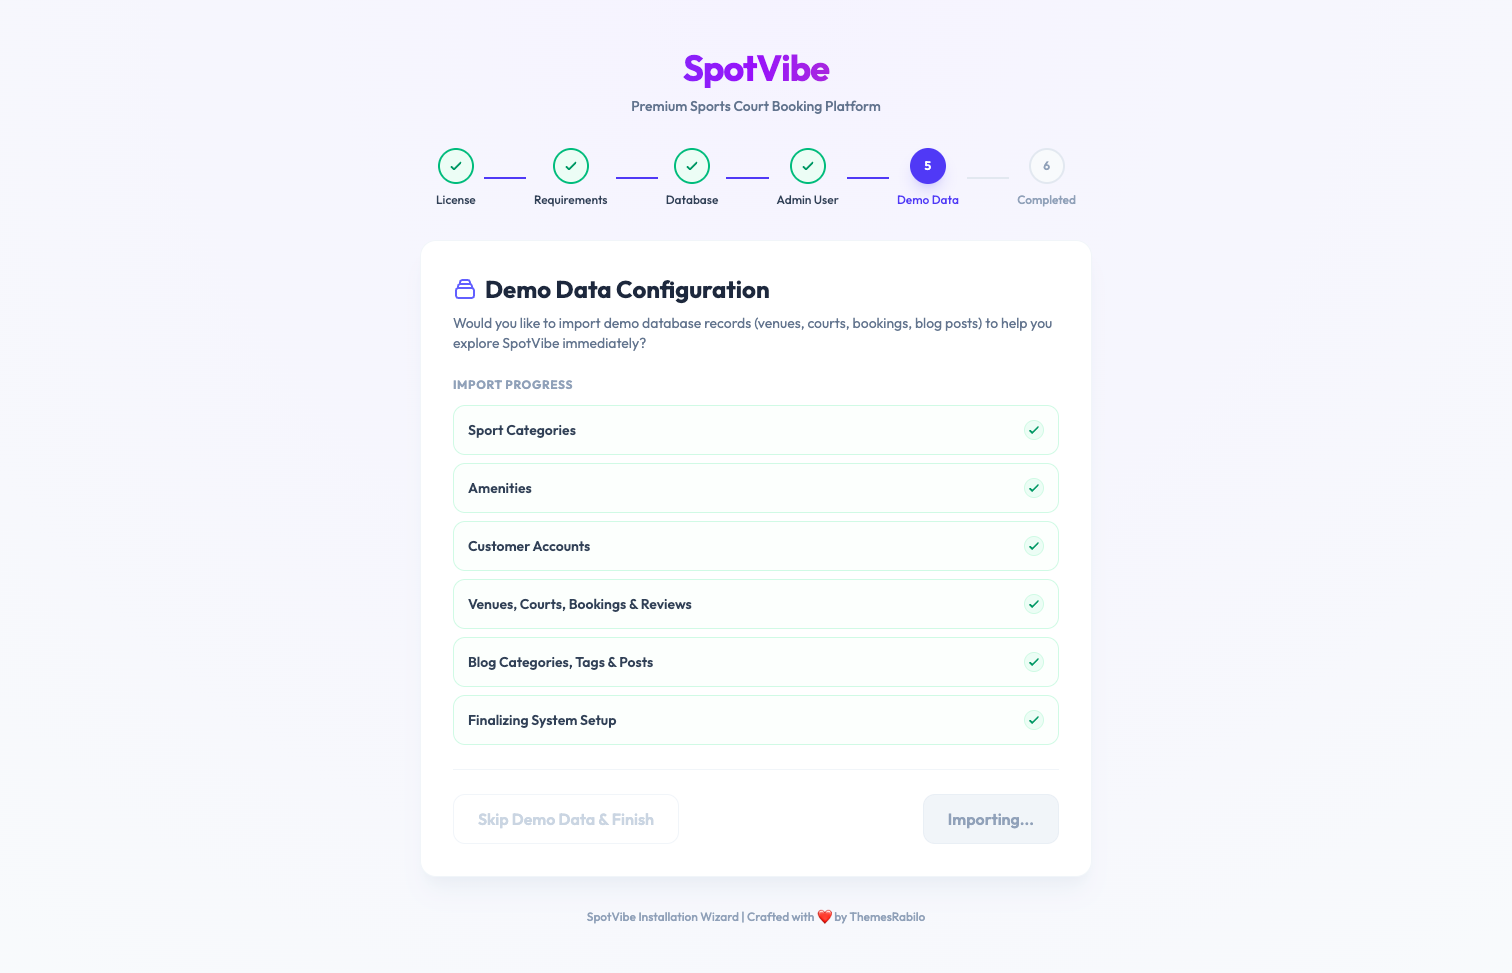
Step 9 — Import Demo Content (Optional)
You can choose to import demo sports categories, sample courts, amenities, and blogs. This is recommended for first-time users so you can see how the booking platform works immediately. If you want a blank system, you can skip this step.
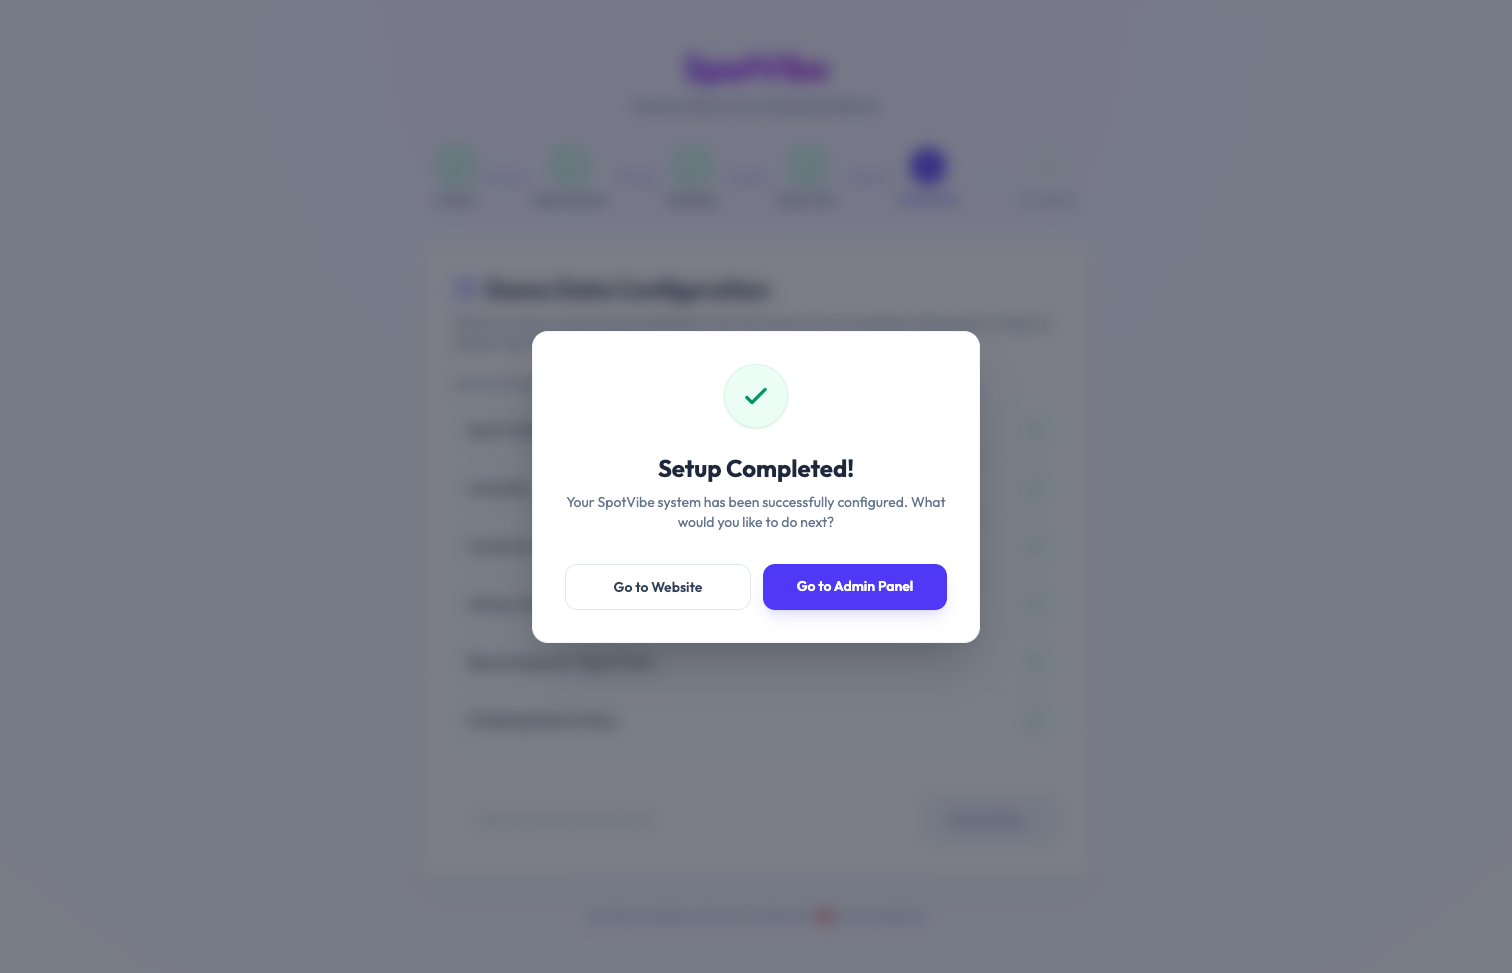
Step 10 — Complete Installation & Cron Job
Click the Complete Installation button. The installer will write the environment
configurations, setup database structures, seed details, and lock the installer. You will be redirected
to the admin login page at https://yourdomain.com/admin.